









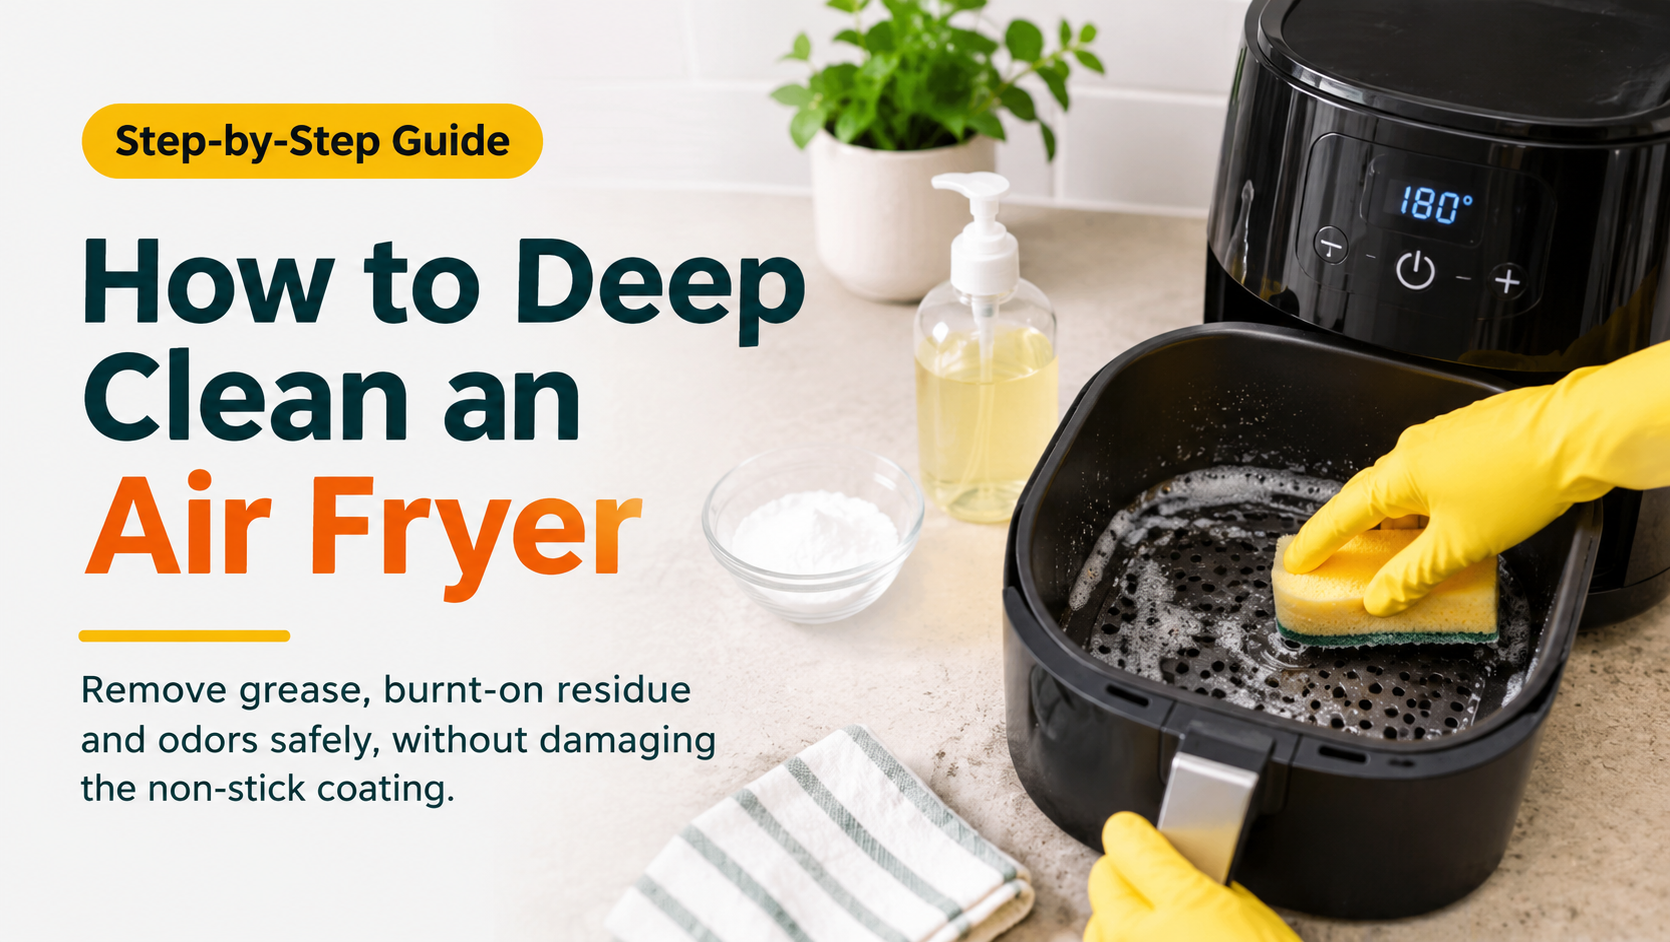
Your air fryer works hard. Every time you cook wings, bacon, frozen fries or marinated vegetables, tiny droplets of oil and food particles splatter onto the basket, the walls and the heating element. A quick rinse after dinner removes the surface mess, but the sticky film that builds up over weeks is a different story. Left alone, it causes smoke, strange smells, uneven cooking and even a shorter lifespan for your appliance.
The good news is that learning how to deep clean an air fryer is simple, cheap and takes less than an hour, most of which is soaking time. In this complete guide you will find the exact supplies, the step-by-step method, fixes for burnt-on grease and bad odors, and the common mistakes that damage the non-stick coating.
Quick Answer: How to Deep Clean an Air Fryer
Unplug the unit and let it cool. Remove the basket, tray and crisper plate, then soak them in hot soapy water for 15 to 30 minutes. Scrub with a soft sponge and a baking soda paste for stubborn spots. Wipe the inside chamber and the heating element with a damp microfiber cloth, clean the exterior, dry every part completely and reassemble.
Why Deep Cleaning Your Air Fryer Matters
Many people only rinse the basket and think the job is done. Over time, grease that you cannot see accumulates in places a quick wash never reaches. Here is why a regular deep clean is worth the effort:
- Better taste: Old oil turns rancid and can transfer a stale or burnt flavor to fresh food.
- Less smoke and odor: Grease baking onto the heating element is the number one cause of white smoke and burning smells.
- Safer cooking: Built-up residue is flammable and can overheat, especially on the element and fan area.
- Even cooking: A clogged fan and sticky vents restrict airflow, which means soggy spots and longer cooking times.
- A longer-lasting appliance: Protecting the non-stick coating and keeping the fan clear helps the machine perform for years.
- Better hygiene: Leftover food particles can harbor bacteria, especially in the drawer and basket corners.
How Often Should You Clean an Air Fryer?
The right schedule depends on how often you cook and what you cook. Greasy foods such as chicken wings, bacon, sausages and marinated meats leave far more residue than vegetables or reheated leftovers. Use this simple routine as a starting point:
If you use your air fryer daily, a weekly deep clean is a smart habit. If you only use it a few times a month, cleaning thoroughly every two weeks is usually enough. When in doubt, look inside: if you see sticky brown film, it is time.
What You Need to Deep Clean an Air Fryer
You do not need expensive products. Most of the work is done by items already in your kitchen:
- Mild dish soap that is strong on grease.
- Baking soda for a gentle, non-scratch scrubbing paste.
- White vinegar to cut greasy film and neutralize odors.
- A soft non-scratch sponge for the basket and tray.
- A soft-bristled brush or old toothbrush for the crisper plate holes, corners and the heating element.
- Microfiber cloths for wiping and drying without lint.
- A plastic scraper or wooden toothpick for stubborn residue (optional).
- Cotton swabs for tight corners around the element and vents (optional).
Know Your Air Fryer Before You Start
Understanding which parts you are dealing with makes cleaning faster and prevents mistakes. A typical basket-style air fryer has removable cooking parts (basket, drawer and crisper plate) and fixed parts that must never be submerged (the main housing, control panel, heating element and fan).
Check your user manual before cleaning. It will tell you exactly which parts are dishwasher safe and which cleaning products the manufacturer recommends. If you have lost the manual, most brands publish a PDF version on their website.
Safety First
- Always unplug the air fryer before cleaning.
- Wait at least 30 minutes so the unit and the heating element are fully cool.
- Never immerse the main body, cord or plug in water.
- Do not pour water or cleaning liquid directly into the cooking chamber.
How to Deep Clean an Air Fryer: Step-by-Step
Follow these seven steps in order for a spotless, odor-free air fryer.
Step 1: Unplug and Let It Cool Completely
Disconnect the power and wait at least 30 minutes after cooking. Cleaning a warm appliance risks burns, and a hot basket plunged into cold water can warp or damage the coating.
Step 2: Remove the Basket, Tray and Crisper Plate
Take out every removable part. Tip out loose crumbs into the bin, and check the bottom of the drawer for pooled oil. Wipe out the excess grease with a paper towel first so it does not clog your sink.
Step 3: Soak the Removable Parts
Fill the sink or a large bowl with hot water and a generous squirt of dish soap. Place the basket, drawer and crisper plate in the water and let them soak for 15 to 30 minutes. For heavy buildup, extend the soak to an hour. Soaking softens baked-on grease so you can wipe it away instead of scraping hard.
Step 4: Scrub Away Grease and Residue
Use a soft sponge to clean the basket, drawer and plate on both sides. Use a soft brush to clear food from the holes and corners of the crisper plate. For stubborn spots, make a paste of three parts baking soda to one part water, spread it over the stains, wait 15 to 20 minutes and scrub gently in small circles. Rinse everything well.
Step 5: Clean the Inside Chamber and Heating Element
This is the step most people skip, and it is the main cause of smoke and burning smells. Dip a microfiber cloth in warm soapy water and wring it out until it is only damp. Wipe the walls of the cooking chamber. Then carefully tilt the unit or turn it upside down on a towel to reach the heating element and fan guard. Gently wipe the element with the damp cloth, and use a soft brush or cotton swab to remove baked-on bits between the coils. Follow with a cloth dampened with plain water to remove soap residue.
Step 6: Wipe the Exterior and Control Panel
Clean the outside with a damp cloth and a drop of dish soap. Pay attention to the handle, the vents and the area around the buttons, where grease and fingerprints collect. Use a cloth that is barely damp on the control panel so no moisture gets into the electronics.
Step 7: Dry Everything and Reassemble
Dry every part with a clean microfiber cloth, then let the pieces air dry for 10 to 15 minutes. Moisture left in the unit can cause odors and make the next cooking session steamy. Once completely dry, put the crisper plate, basket and drawer back in place. For extra peace of mind, run the empty air fryer at a moderate temperature (about 160 to 180°C or 320 to 350°F) for three to five minutes to evaporate any remaining moisture.
How to Remove Stubborn Grease and Burnt-On Food
If your air fryer has been neglected for a while, regular soap may not be enough. Try these methods in order from gentlest to strongest:
- Extended hot soak: Soak removable parts in hot soapy water for up to an hour.
- Baking soda paste: Apply a thick layer to burnt areas, leave for 15 to 20 minutes and scrub with a soft sponge.
- Vinegar and baking soda foam: Sprinkle baking soda on the area and spray with diluted white vinegar. The fizzing action helps lift residue. Rinse well afterward.
- Plastic scraper or wooden toothpick: Gently loosen hardened bits. Never use metal tools on the non-stick coating.
Repeating a gentle method two or three times is always safer than using a harsh abrasive once.
How to Get Rid of Bad Smells in an Air Fryer
If your air fryer still smells like last week’s fish or garlic after washing, try one of these remedies:
- Vinegar wipe: Wipe the interior walls with a cloth dampened with a one-to-one mix of white vinegar and water, then wipe again with plain water.
- Lemon soak: Soak the basket and tray in warm water with a splash of lemon juice for 20 to 30 minutes before washing.
- Baking soda: Leave an open container of baking soda near the air fryer overnight, or place a small bowl of it in the drawer while the unit is stored.
- Air it out: Store the air fryer with the drawer slightly open so air can circulate.
If a burning smell returns every time you cook, check the heating element again. Even a thin layer of grease on the element can smoke and smell.
Cleaning Different Types of Air Fryers
Basket-Style Air Fryers
These are the most common type. Follow the step-by-step method above, paying attention to the drawer where grease pools and to the crisper plate holes.
Air Fryer Ovens
Toaster-style air fryer ovens have multiple racks, a drip tray and a larger interior. Remove all racks and the tray and wash them like the basket. Wipe the interior walls, the glass door and the ceiling where the element sits. A soft brush helps with the crumb tray.
Dual-Basket Air Fryers
Treat each drawer as a separate basket. Clean both, and do not forget the channel between the drawers where crumbs can collect.
Air Fryers With a Paddle or Stirring Arm
Remove the paddle and soak it with the bowl. Make sure the mechanism underneath is free of residue before reassembling.
Air Fryer Cleaning Dos and Don’ts
A few simple habits protect your appliance, while a few common shortcuts can ruin it.
A note on cooking spray: many aerosol sprays contain additives that leave a sticky residue and can slowly damage non-stick coatings. A light brush of oil or an oil mister you fill yourself is a better option.
Habits That Keep Your Air Fryer Cleaner for Longer
- Wipe it down after each use: A quick rinse while the basket is still warm (not hot) prevents grease from hardening.
- Use perforated parchment liners or silicone liners: They catch drips and make cleanup easier. Never run the air fryer empty with a liner inside, and make sure the liner is weighed down by food so it cannot touch the heating element.
- Do not overfill the basket: Crowded food splatters more and cooks unevenly.
- Pat marinated foods dry: Less dripping marinade means less sticky residue.
- Let it cool before storing: Trapped heat and moisture can cause odors.
- Inspect the basket coating regularly: If the non-stick surface begins to flake or peel, replace the basket or the unit for safety.
Helpful Tools to Make Air Fryer Cleaning Easier
You can deep clean an air fryer with basic kitchen supplies, but a few inexpensive accessories make the job faster. When shopping, look for these:
- Non-scratch scrub sponges: Choose ones labeled safe for non-stick cookware.
- Silicone-bristle or soft nylon brushes: These clean crisper plate holes and tight corners without scratching.
- Reusable silicone liners: They protect the basket, are dishwasher safe and last for many uses.
- Disposable perforated parchment liners: A convenient option for very messy foods.
- Microfiber cleaning cloths: They pick up grease and leave no lint behind.
- Food-safe degreasing spray: If you use one, choose a product that states it is safe for kitchen appliances and rinse thoroughly.
- Silicone oil mister: A refillable bottle that replaces aerosol spray and protects the coating.
Frequently Asked Questions
Can I put my air fryer basket in the dishwasher?
Many baskets and trays are labeled dishwasher safe, but you should confirm this in your user manual. Even when it is allowed, hand washing with a soft sponge is gentler on the non-stick coating and helps the basket last longer.
How do I get burnt-on grease off an air fryer basket?
Soak the basket in hot water with dish soap for 30 to 60 minutes. Then spread a paste of baking soda and a little water over the stubborn spots, wait 15 to 20 minutes and scrub with a soft sponge or a plastic scraper. Repeat if needed instead of using harsh tools.
Can I use vinegar to clean my air fryer?
Diluted white vinegar (about one part vinegar to one part water) works well for removing greasy film and neutralizing odors on removable parts and the interior walls. Always rinse afterwards and dry thoroughly, and avoid soaking the main housing.
How do I clean the heating element of an air fryer?
Make sure the unit is unplugged and completely cool. Tilt or carefully turn the air fryer on its side, then wipe the element with a damp microfiber cloth or a soft brush dipped in soapy water. Never pour water directly into the unit.
Why does my air fryer smoke or smell like burning?
Most of the time, old grease and food residue on the heating element, the chamber or the drawer is burning off. A thorough deep clean usually fixes it. Greasy foods such as bacon can also cause temporary smoke, so make sure the drawer is clean before cooking.
How often should I deep clean my air fryer?
Wash the basket and tray after every use, and do a full deep clean every one to two weeks depending on how often you cook. If you air fry greasy foods several times a week, lean toward the weekly end of that range.
Is it safe to use baking soda inside an air fryer?
Yes, a paste of baking soda and water is a mild abrasive that is safe for most non-stick surfaces when applied with a soft sponge. Rinse it off completely before you cook again.
Final Thoughts
Learning how to deep clean an air fryer does not require special equipment or complicated tricks. Unplug it, let it cool, soak the removable parts, scrub gently, clean the heating element and chamber, and dry everything completely. Do this every one to two weeks, and give the basket a quick wash after each use, and your air fryer will stay free of smoke and odors while producing crisp, great-tasting food for years.
Start with a thorough clean today, and enjoy the difference in flavor, performance and peace of mind at your very next meal.