









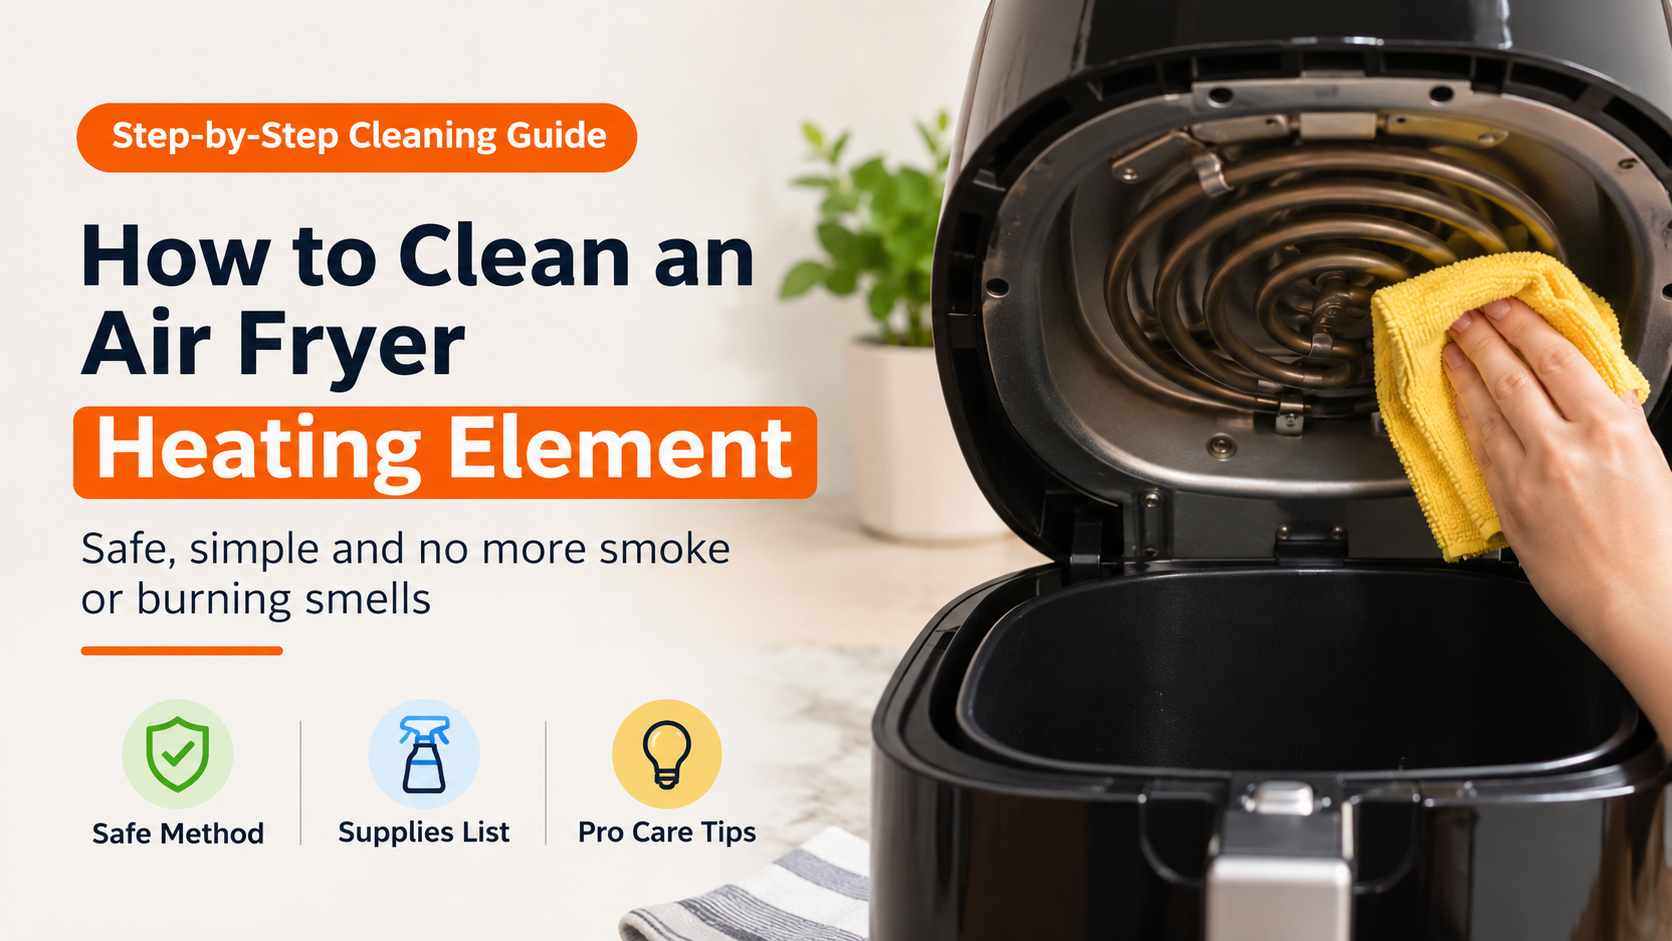
How to Clean an Air Fryer Heating Element: A Safe Step-by-Step Guide
Greasy buildup on the heating element is the main reason for smoke, burning smells and uneven cooking.
Air fryers make cooking quick and easy, but they also splatter grease, crumbs and tiny bits of food all over the cooking chamber. Most of us wash the basket and tray after every meal, yet forget the part that does the real work: the heating element. Over time, grease bakes onto it, starts to smoke and gives food an unpleasant taste.
Knowing how to clean an air fryer heating element is easier than it sounds, and it takes only 10 to 15 minutes. In this guide you will learn exactly where the element is, which supplies to use, how to clean it safely, what to avoid and how often to do it.
In this guide
- Why cleaning the heating element matters
- Where the heating element is
- Supplies you need
- Step-by-step cleaning method
- Dealing with stubborn grease
- What not to do
- How often to clean
- Tips to keep it cleaner for longer
- Frequently asked questions
Why Cleaning the Heating Element Matters
The heating element sits above the food and glows hot to create the air that crisps your meals. Because it faces the food, it catches splatter from fatty and marinated ingredients. When that residue is left in place it can:
- Produce smoke and burning smells every time you turn the air fryer on.
- Change the taste of food, especially lighter dishes like vegetables or baked goods.
- Cause uneven heating as buildup insulates parts of the coil.
- Be a safety concern, since built-up grease can smoke heavily and overheat.
- Shorten the life of the appliance if it is never cleaned.
Safety first
Always unplug the air fryer and let it cool completely, which usually takes at least 30 minutes. Never clean a hot or plugged-in appliance, and never let water run onto the heating element or into the electrical parts.
Where Is the Heating Element?
In most basket-style air fryers, the heating element is a metal coil or tube mounted in the top of the cooking chamber, just above the basket. A fan sits near it and pushes the hot air downward over your food. Some models, such as oven-style or toaster-style air fryers, have elements at the top and sometimes at the bottom too.
To see it, remove the basket and tray and look up into the empty chamber. A small torch makes it much easier to spot grease spots, dark patches and crumbs.
Supplies You Need
You do not need special products. Most items are probably already in your kitchen.
| Item | Used for | Notes |
|---|---|---|
| Soft cloth or non-abrasive sponge | Wiping the coil and chamber | Microfibre works very well |
| Mild dish soap and warm water | Cutting through grease | Use a small amount only |
| Soft-bristle brush or old toothbrush | Reaching tight spots and corners | Keep it dedicated to cleaning |
| Cotton swabs | Detailed cleaning around the coil | Great for narrow gaps |
| Baking soda (optional) | Stubborn baked-on grease | Make a thick paste with a little water |
| White vinegar (optional) | Light grease and odour | Dilute with water and use on a cloth |
| Dry towel or paper towels | Final wipe and drying | Make sure no moisture remains |
| Torch (optional) | Seeing inside the chamber | Helps spot missed grease |
Step-by-Step: How to Clean the Heating Element
Follow these steps every time you give the element a proper clean.
Step 1: Unplug and let it cool completely
Switch off the air fryer, unplug it from the wall and wait until every part is cool to the touch. Do this even if it has only been used briefly, since the element holds heat for a while.
Step 2: Remove the basket, tray and accessories
Take out the basket, the tray and any racks, liners or skewers. Wash them separately according to the care instructions. Taking them out gives you clear access to the chamber and keeps cleaning residue out of the food area.
Step 3: Inspect the element
Look up at the element with a torch. Check for visible grease, dark spots, crumbs or anything stuck between the coil lines. Also check that the coil is not bent, cracked or damaged. If it is, stop here and contact the manufacturer.
Step 4: Wipe with a damp, soapy cloth
Mix a few drops of mild dish soap into warm water. Dip a soft cloth or sponge in it and wring it out well until it is only slightly damp, not dripping. Gently wipe along the coil and the top of the chamber. Work in the direction of the coil and avoid pressing hard, since the element can be delicate.
Step 5: Use a soft brush or cotton swab for details
For tight gaps and corners, use a soft toothbrush or a cotton swab lightly dampened with the soapy water. Remove loose crumbs first, then lift greasy spots with small, gentle movements.
Step 6: Wipe with a clean damp cloth
Rinse your cloth, wring it out thoroughly and wipe the element again to remove any soap film. Soap left behind can create a smell the next time you heat the unit.
Step 7: Dry completely
Wipe the area with a dry towel, then leave the air fryer open with the basket removed for at least 15 to 30 minutes so any remaining moisture evaporates. Only reassemble and plug it in when everything is fully dry.
Optional: Cleaning from underneath
Many manufacturers show how to clean a downward-facing element by carefully turning the empty, cool, unplugged unit upside down on a stable surface so you can reach the coil more easily. Only do this if your manual permits it, and support the appliance firmly to prevent it from slipping.
How to Deal With Stubborn, Baked-On Grease
If soap and water do not lift the grease, you can try a gentle natural method.
- Baking soda paste: Mix a small amount of baking soda with a few drops of water to form a thick paste. Dab a little onto the greasy spots using a cotton swab or soft brush. Leave it for 5 to 10 minutes, then wipe off completely with a clean, damp cloth.
- Diluted vinegar: Mix equal parts white vinegar and water, dampen a cloth with it and wipe the element. This helps with light residue and smell. Wipe again with a clean damp cloth afterwards.
- Repeat gently: Several light passes are safer and more effective than one hard scrub.
Helpful tip
Always check your user manual first. Some brands only approve mild soap and water. Using too much of any cleaning agent can leave residue that smokes when the unit is heated.
What Not to Do
A few common mistakes can damage the appliance or make it unsafe.
- Do not use abrasive tools such as steel wool, metal scrapers or rough scouring pads, which can scratch the surface or damage the coil.
- Do not use aerosol or harsh oven cleaners. Strong chemicals can leave harmful residues and damage parts.
- Do not soak or spray the element, fan or housing. Water can damage electrical parts.
- Do not put the main unit in the dishwasher. Only removable parts marked dishwasher safe can go in.
- Do not heat the unit while it is damp, since moisture and residue can cause steam, smoke or smell.
How Often Should You Clean It?
How often depends on how much you cook and what you cook. Fatty foods create much more splatter than vegetables or frozen snacks.
| Usage | Quick care | Deep cleaning |
|---|---|---|
| Daily or heavy use | Wipe the chamber and element lightly after greasy meals | Deep clean every 1 to 2 weeks |
| Several times a week | Wipe up visible splatter when cool | Deep clean every 2 weeks |
| Occasional use | Quick check after each use | Deep clean once a month |
| After bacon, wings or marinated meat | Wipe as soon as the unit has cooled | Do not leave grease overnight |
Tips to Keep the Heating Element Cleaner for Longer
- Pat food dry before cooking to reduce splatter.
- Use only a little oil and spray or brush it on the food, not into the unit.
- Do not overfill the basket. Crowded food releases more grease and steam.
- Clean the basket and tray after every use so old grease does not smoke next time.
- Use suitable liners to catch drips, but never cover the whole base or block airflow.
- Cover or flip very fatty foods carefully and use a little water in the tray when your manual recommends it for fatty foods.
- Wipe the chamber while it is still slightly warm, after unplugging, so grease has not hardened.
When to Stop and Call for Help
Cleaning cannot fix every problem. Stop using the air fryer and contact the manufacturer if you notice a bent or broken coil, sparks, a persistent electrical or burning smell after cleaning, heavy smoke, or the unit failing to heat. Never try to repair internal electrical parts yourself.
What to Look for in an Easy-to-Clean Air Fryer
If your current air fryer is hard to keep clean, or it is time for an upgrade, these features can make maintenance much easier.
- Dishwasher-safe, removable basket and tray that come out easily.
- Non-stick coating that wipes clean without heavy scrubbing.
- Accessible cooking chamber with enough room to reach the top.
- Clear cleaning instructions in the manual.
- Splatter-reducing design, such as a well-shaped basket and a stable tray.
- Good warranty and spare parts so you can replace worn items.
Frequently Asked Questions
Can I clean the air fryer heating element with water?
Not directly. Never pour, spray or soak the element. A cloth that is damp and well wrung out is fine, because it adds only a tiny amount of moisture. Always let the area air dry fully before you plug the unit back in.
How often should I clean the heating element?
A quick wipe after greasy cooking such as bacon, wings or marinated meats helps a lot. For regular use, a proper deep clean every one to two weeks is a good habit. If you cook only occasionally, once a month is usually enough.
Why is my air fryer smoking or smelling like burning?
The most common reason is old grease or food residue burning on the element or the top of the chamber. Greasy foods and fat dripping into a dirty basket can also cause smoke. A thorough cleaning usually solves it. If smoke continues with a clean unit, stop using it and contact the manufacturer.
Can I use vinegar or baking soda on the element?
Many people use a mild solution of white vinegar and water on a cloth, or a small amount of baking soda paste for stubborn spots, then wipe off completely with a clean damp cloth. Use only small amounts, avoid soaking, and check your manual first, since some brands advise using only mild dish soap.
Is it safe to turn the air fryer upside down to clean it?
Many manufacturers show this method because the element faces downward. Only do it when the unit is unplugged, cool, empty and dry, and when your manual allows it. Support the unit firmly so it does not slip.
Does a dirty heating element affect cooking?
Yes. Built-up grease can cause smoke, bad smells and uneven heating, and over time it can make the unit work harder. Keeping the element clean helps food cook evenly and tastes better.
Should I replace the air fryer if the element is damaged?
If the coil is bent, broken, visibly burnt through, or the unit no longer heats, do not try to repair it yourself. Check your warranty and contact the manufacturer. Replacing the whole air fryer is often more practical than repairing an old unit.
Final Thoughts
Cleaning the heating element is one of the simplest ways to keep your air fryer safe, smoke-free and cooking evenly. Unplug it, let it cool, wipe gently with a barely damp cloth, tackle tough spots with a soft brush or a little baking soda paste and make sure everything is completely dry. Add a quick wipe after greasy meals and a deeper clean every few weeks, and your air fryer will reward you with better-tasting food and a longer life.
Save this guide for the next time you notice smoke or a burning smell, and always follow the instructions that came with your specific model.