









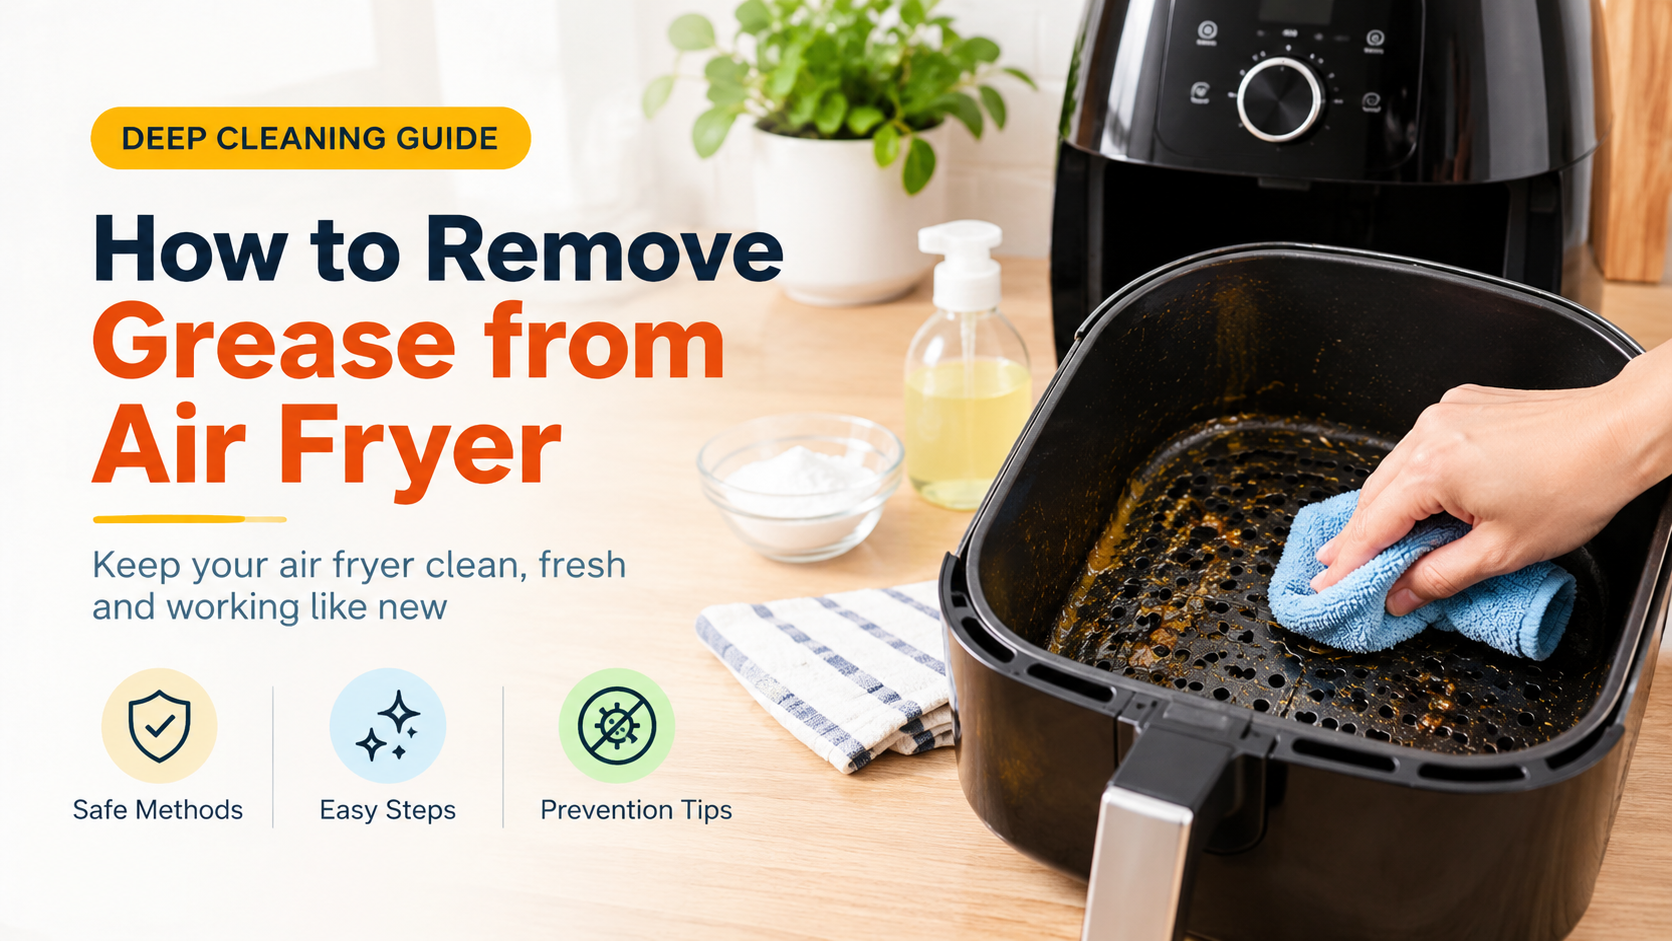
How to Remove Grease from an Air Fryer: The Complete Cleaning Guide

Greasy buildup causes smoke, bad smells and sticky baskets. Here is how to clean it all safely.
Air fryers use hot circulating air and a small amount of oil to give food a crisp finish, but they still produce a surprising amount of grease. Fat from chicken wings, bacon, burgers and marinated foods drips onto the tray, splatters across the walls and settles on the heating element. If you do not clean it regularly, it hardens into a sticky, yellow-brown layer that is hard to remove.
This guide shows you exactly how to remove grease from an air fryer, from a quick everyday clean to a deep clean for stubborn, baked-on residue. You will also learn what to avoid and how to keep grease from building up in the first place.
In this guide
- Quick answer
- Why grease builds up
- Supplies you need
- Step-by-step degreasing routine
- Removing baked-on grease
- Cleaning each part
- What not to do
- How often to clean
- How to prevent grease buildup
- Frequently asked questions
Quick Answer
To remove grease from an air fryer, unplug and cool it, soak the basket and tray in hot soapy water, scrub with a soft sponge, treat stuck spots with a baking soda paste, wipe the chamber and heating element with a well wrung-out soapy cloth and dry everything completely before use.
Safety first
Always unplug the air fryer and let it cool fully before cleaning. Never submerge the main body, never pour water onto the heating element or electrical parts, and avoid aerosol oven cleaners and abrasive tools. Follow your user manual.
Why Grease Builds Up in an Air Fryer
An air fryer works in a small, enclosed space where hot air moves quickly. That is great for crisp food, but it also pushes tiny droplets of fat onto every surface. Each time you heat the unit, that thin layer bakes on a little more, turning from a greasy film into a sticky, hard coating.

Foods that create the most grease include bacon, sausages, burgers, chicken wings and thighs, marinated meats, breaded foods and anything cooked with a lot of oil.
Supplies You Need
| Item | Used for | Notes |
|---|---|---|
| Hot water and dish soap | Cutting through fresh grease | A strong grease-fighting dish soap works best |
| Soft sponge or nylon brush | Scrubbing basket and tray | Avoid rough or metal scourers |
| Baking soda | Baked-on, sticky grease | Mix a thick paste with a little water |
| White vinegar (optional) | Greasy film and smell | Dilute with water and use on a cloth |
| Soft cloths or microfibre | Wiping chamber and element | Wring out well so they are only damp |
| Cotton swabs and soft toothbrush | Corners, vents and gaps | Good for tight spaces |
| Silicone or plastic scraper | Lifting thick grease | Never use metal on non-stick |
| Dry towel or paper towels | Drying every part | Moisture must be fully removed |
Step-by-Step Degreasing Routine

Step 1: Unplug and let it cool
Disconnect the power and wait until the air fryer is completely cool. Remove the basket, tray, racks and any liners.
Step 2: Remove loose grease and crumbs
Pour any liquid fat from the tray into a sealable container or onto a paper towel and throw it away with your household waste. Do not pour hot grease down the sink, because it can clog the pipes. Wipe the worst of the grease from the parts with a paper towel.
Step 3: Soak the basket and tray
Fill the sink or a large tub with hot water and a generous squirt of dish soap. Place the basket and tray in the water and let them soak for 10 to 30 minutes, or longer if they are very greasy. Soaking loosens the grease so you do not have to scrub hard.
Step 4: Scrub gently
Use a soft sponge or nylon brush to scrub the basket mesh, corners and underside. For baskets with small holes, a soft toothbrush helps get into the gaps. Rinse well with hot water.
Step 5: Treat stubborn spots
If sticky patches remain, spread a thick paste of baking soda and water over them, wait 10 to 15 minutes and then scrub gently with a soft brush. Rinse again. Repeat if necessary instead of scrubbing hard.
Step 6: Wipe the chamber and heating element
Dip a soft cloth in warm soapy water and wring it out until it is just damp. Wipe the inside walls, the ceiling and carefully along the heating element. Use cotton swabs for tight spaces. Then wipe again with a cloth dampened with clean water to remove the soap.
Step 7: Clean the exterior and handle
Wipe the outside, control panel and basket handle with a barely damp cloth. Grease can build up around the handle and buttons, so clean the edges and crevices carefully.
Step 8: Dry completely
Dry all parts with a towel and let them air dry with the drawer open for at least 30 minutes. Reassemble only when everything is completely dry.
How to Remove Baked-On Grease
Old, hardened grease needs a little more patience. Do not reach for metal scrapers or harsh chemicals. Try these gentle methods instead.

- Extended soak: Leave the basket and tray in hot soapy water for an hour or even overnight to soften the layer.
- Baking soda paste: Apply a thick coating, wait 10 to 15 minutes and scrub gently. Rinse thoroughly.
- Diluted vinegar: Wipe with a cloth dampened with equal parts white vinegar and water to break down the greasy film, then rinse.
- Lemon wipe: Finish with a cloth dampened with lemon juice and water on the cool basket and chamber to freshen the surface, then wipe with plain water and dry.
- Plastic scraper: Gently lift thick patches with a silicone or plastic scraper before scrubbing.
- Repeat: Several gentle rounds are safer and just as effective as one hard scrub.
Helpful tip
Wash the basket while it is still slightly warm but safe to touch. Grease is much easier to remove before it cools and hardens.
How to Clean Each Part
| Part | How to clean it | Notes |
|---|---|---|
| Basket | Soak in hot soapy water, scrub gently, use baking soda paste on sticky spots | Often dishwasher safe, but check the manual |
| Tray or drip pan | Pour off liquid fat first, then soak and scrub | Grease collects here more than anywhere else |
| Heating element | Wipe with a barely damp soapy cloth when cool and unplugged | Never spray or soak, and dry fully |
| Chamber walls | Wipe with a soapy cloth, then a clean damp cloth | Use cotton swabs for corners |
| Fan and vents | Wipe gently with a dry or barely damp cloth or soft brush | Do not let liquid enter the vents |
| Exterior and handle | Wipe with a damp cloth and dry | Check around buttons and seams |
| Silicone or parchment liners | Wash with hot soapy water or replace when worn | Keep them away from the heating element |
What Not to Do
- Do not use steel wool, metal scrapers or rough scouring pads. They scratch non-stick coatings.
- Do not use aerosol or harsh oven cleaners. Strong chemicals can damage parts and leave residue.
- Do not submerge the main unit or let water get into the electrical components.
- Do not pour water onto the heating element. Always use a well wrung-out cloth.
- Do not clean while the unit is plugged in or hot.
- Do not put a damp basket back or run the air fryer while parts are still wet.
- Do not pour hot grease down the drain. Let it cool and throw it away.
How Often Should You Clean It?
| When | What to do | Time needed |
|---|---|---|
| After every use | Wash basket and tray, wipe visible splatter | 5 to 10 minutes |
| After greasy foods | Wipe chamber walls and check the element | 10 minutes |
| Every 1 to 2 weeks (regular use) | Full deep clean of all parts | 20 to 30 minutes |
| Monthly (occasional use) | Full deep clean and exterior wipe | 20 to 30 minutes |
How to Prevent Grease Buildup
- Pat food dry and trim excess fat before cooking.
- Use a light spray or brush of oil on the food, not a pool in the basket.
- Do not overfill the basket. Crowded food drips and splatters more.
- Use a tray liner or parchment made for air fryers to catch drips, and never let it block airflow or touch the element.
- Empty the tray after fatty meals so grease does not bake on during the next cycle.
- Clean while the unit is still slightly warm (but unplugged and safe to touch).
- Choose a model that is easy to clean with a removable basket and non-stick surfaces.
What to Look for in an Easy-to-Clean Air Fryer
If grease is a constant fight, features that simplify cleaning can make a big difference when choosing a new air fryer.
- Dishwasher-safe basket and tray that come out easily.
- High-quality non-stick coating that releases grease easily.
- Smooth interior with few corners and crevices.
- Accessible cooking chamber that you can wipe by hand.
- Deep drip tray that catches fat and is easy to empty.
- Clear care instructions and available spare parts.
Frequently Asked Questions
What is the fastest way to remove grease from an air fryer?
Unplug and cool the unit, then soak the basket and tray in hot water with a good dish soap for 10 to 15 minutes. Scrub with a soft sponge, wipe the chamber with a soapy cloth wrung out well, rinse and dry completely. For sticky spots, add a baking soda paste.
Can I put the air fryer basket in the dishwasher?
Only if your manual says the basket and tray are dishwasher safe. Even then, wash very greasy parts by hand first, because heavy grease can leave a film that the dishwasher does not fully remove, and it can shorten the life of a non-stick coating.
How do I get baked-on grease off the basket?
Soak it in hot soapy water for 30 minutes or longer. Then apply a thick paste of baking soda and a little water to the stuck areas, let it sit for 10 to 15 minutes and scrub gently with a soft brush. Repeat if needed rather than scraping hard.
Can I use steel wool or a metal scraper?
No. Abrasive tools scratch the non-stick coating, which makes grease stick more in future and can cause the coating to flake. Use a soft sponge, nylon brush or a silicone or plastic scraper instead.
How do I clean grease off the heating element?
Unplug and cool the unit, then wipe gently with a soft cloth wrung out in warm soapy water. Use a soft brush or cotton swab for gaps. Never pour or spray water onto the element, and let it dry fully before using the air fryer again.
Is it safe to use vinegar to degrease an air fryer?
Diluted white vinegar on a cloth is generally fine for wiping surfaces and cutting greasy film, but do not soak the unit or leave undiluted vinegar on non-stick surfaces for long. Rinse and dry well, and follow your manual if it advises otherwise.
How often should I remove grease from my air fryer?
Wash the basket and tray after every use, wipe the chamber lightly after greasy meals and do a full deep clean every one to two weeks if you cook often, or monthly for occasional use.
Why does my air fryer smoke when I cook?
Smoke is usually caused by old grease burning on the element, tray or walls, or by very fatty food dripping onto a dirty tray. Cleaning thoroughly normally solves it. If smoke continues with a clean unit, stop using it and contact the manufacturer.
Final Thoughts
Grease is the number one enemy of a clean air fryer, but it is easy to beat. Soak and scrub the basket and tray, tackle stubborn spots with baking soda, wipe the chamber and heating element gently and dry every part before using the unit again. Add a quick wipe after greasy meals, and your air fryer will stay cleaner, smoke less and cook better for years.
Save this guide for your next deep clean, and always follow the instructions for your specific model.