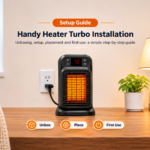
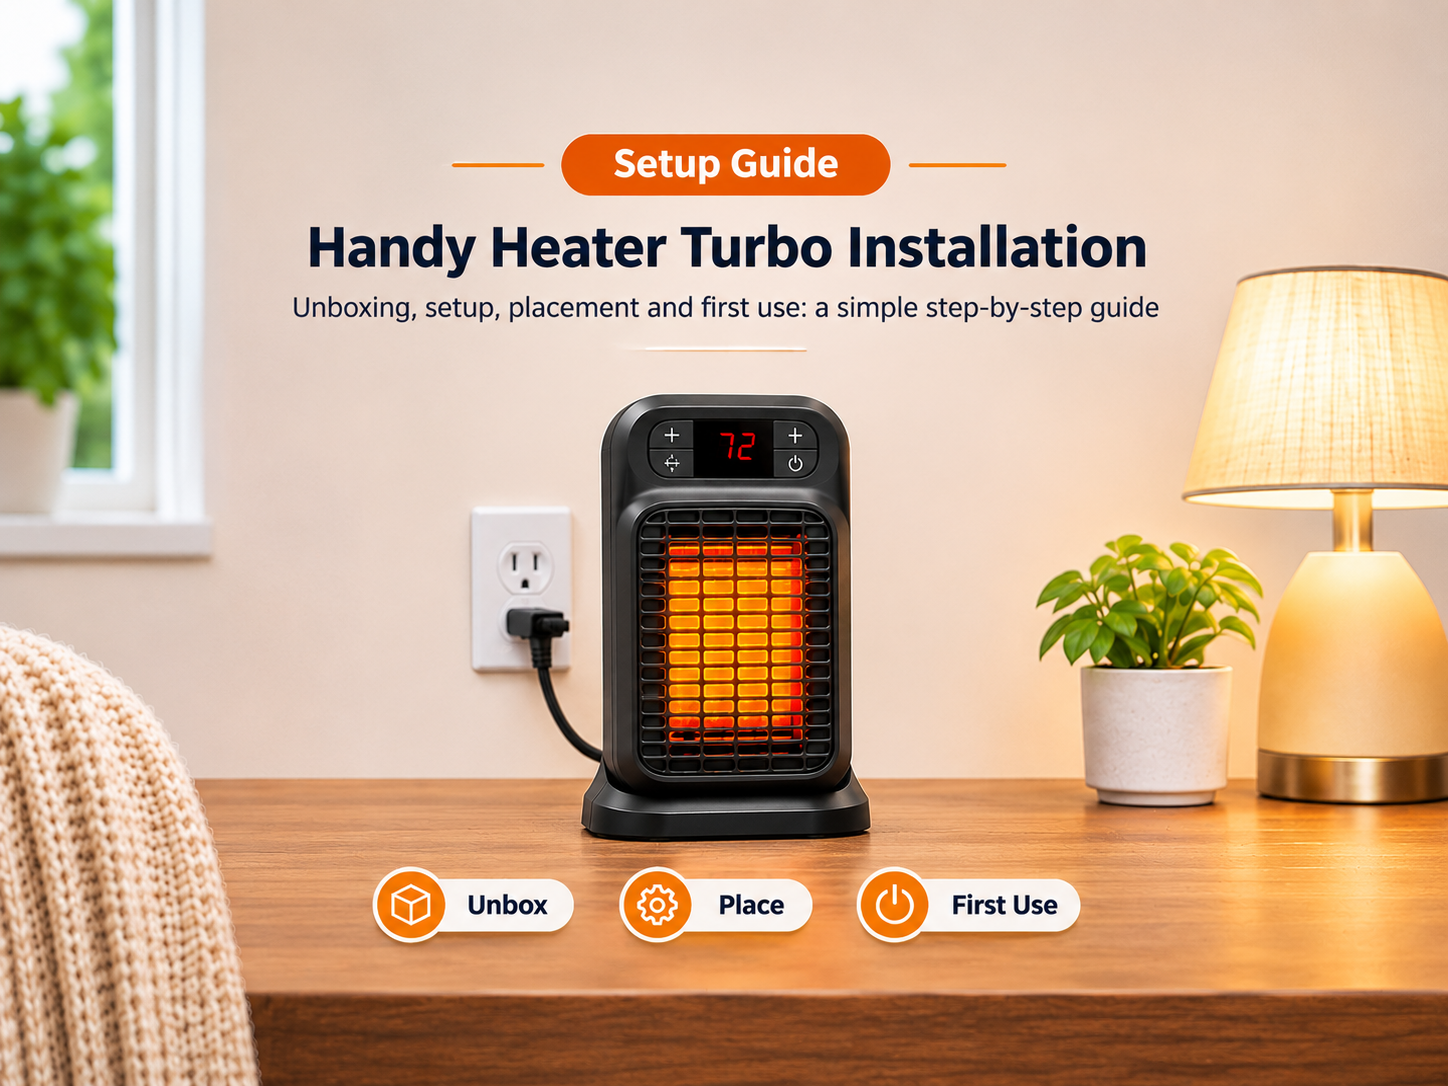
Handy Heater Turbo Installation: Easy Step-by-Step Setup Guide

If you have just bought a Handy Heater Turbo, you are probably wondering how to install it. The good news is that a compact plug-in heater does not need any real installation. There is no wiring, no drilling and no mounting, and you usually do not need any tools. What it does need is a careful setup: a good inspection, a safe spot and a sensible first run.
This guide walks you through the whole process from unboxing to first use, including where to place the heater, what to avoid, what to do on the first run and how to fix the most common setup problems.
Do You Need to Install the Handy Heater Turbo?
No installation work is needed for a plug-in personal heater. It is a freestanding appliance that you place on a flat surface and plug into a standard wall outlet. You should not open the casing, modify the plug, hardwire it or attach it to a circuit in any way. If you ever have to do anything beyond plugging it in, stop and follow the manufacturer instructions or contact the seller.
Important
Specifications and included parts can differ by version and seller. Always follow the manual that comes with your unit, and treat this article as general guidance.

What You Need Before You Start
- The heater and its instruction manual
- A working wall outlet that is close to where you will place the heater
- A flat, hard, stable surface with plenty of clear space around it
- A few minutes to read the label and the manual
You do not need an extension cord or a power strip, and in most cases you should avoid using one.
Step 1: Unbox and Inspect the Heater
Take the heater out of the packaging and remove all plastic wraps, foam pieces and stickers that are meant to be removed. Keep the manual and any warranty information. Then carefully check the heater before it goes anywhere near the outlet.

If you find a crack, a bent plug pin, a damaged cord or anything that rattles inside, do not use the heater. Contact the seller or manufacturer.
Step 2: Read the Label and Manual
Find the rating label on the heater and note the wattage and voltage. Make sure the voltage matches your outlet. Then read the manual to learn about the controls, the settings, the safety features and any warnings. Pay special attention to what the manufacturer says about extension cords, bathrooms and unattended use.
Step 3: Choose a Safe Spot
Where you put the heater matters just as much as how you plug it in. Use these rules:
- Hard, flat, level surface. The floor is usually best. Avoid beds, sofas, thick rugs and unstable tables.
- 3 feet (about 90 cm) of clear space around it. Keep curtains, bedding, clothes, paper, cardboard and furniture away.
- Near the outlet. You should not need an extension cord.
- Open airflow. The vents at the front and back must never be blocked.
- Out of the way. Keep it away from walkways, children and pets, so nobody can trip over the cord or knock it over.

Step 4: Plug It In Correctly
- Make sure the heater is switched off or the dial is at its lowest setting.
- Check that your hands are dry and the area is dry.
- Insert the plug fully into a wall outlet. It should fit snugly without wobbling.
- Arrange the cord so it does not run under rugs, across walkways or over hot parts of the heater.
Avoid power strips and extension cords
Heaters draw a lot of current. Power strips and thin extension cords can overheat. Plug the heater directly into a wall outlet unless the manual explicitly says another method is allowed.
Step 5: Switch On and Test
Turn the heater on and begin with a low or medium setting if your model has options. Stay nearby for the first few minutes. You should notice the fan starting and warm air flowing out of the front. Check these points during the first run:
- The fan runs smoothly without rattling or scraping noises.
- Warm air comes out of the front within a short time.
- The plug and cord stay at a normal temperature. If either gets hot, stop immediately.
- There is no smoke, sparking or strong smell.
A light, brief smell is not unusual when a new heater is used for the first time, since manufacturing dust or residue can burn off. If the smell is strong or persists, switch it off, unplug it and ventilate the room.
Where Should You Use the Handy Heater Turbo?
| Location | Suitability | Notes |
|---|---|---|
| Desk or home office | Usually good | Keep papers and cables clear; check workplace rules |
| Bedroom | Possible with care | Keep away from bedding; do not leave running while asleep unless the manufacturer states it is designed for that |
| Living room | Good for a small zone | Will not heat a large room |
| Bathroom | Only if the manual permits it | Keep away from water and follow the product rating |
| Garage or workshop | Not recommended | Dust, fumes and flammable materials increase risk |
Safety Rules After Setup

- Never leave it running when you leave the room or go to sleep.
- Never cover it or use it to dry clothes.
- Unplug it when it is not in use.
- Check the cord and plug regularly for damage.
- Keep children and pets away from it.
Troubleshooting Common Setup Problems

| Problem | Possible Cause | What to Try |
|---|---|---|
| Heater does not turn on | Loose plug, dead outlet or switch off | Re-seat the plug, try another outlet and check the switch |
| Turns off after a short time | Overheat protection triggered or blocked vents | Unplug, let it cool, clear the vents and move it into open space |
| Weak warmth | Too far from you or a cold, drafty room | Move closer (within safe limits) and reduce drafts |
| Rattling or loud fan | Dust or a loose part | Unplug, let it cool, brush the grille and stop using it if the noise continues |
| Plug feels hot | Poor connection or heavy load | Stop using it immediately and have it checked |
| Breaker trips | Circuit overloaded | Unplug other devices on that circuit; if it keeps happening, stop using the heater and seek advice |
Basic Care After Installation
Once a week, or more often in dusty rooms, unplug the heater and let it cool completely. Wipe the outside with a dry or slightly damp cloth and gently clear the vents with a soft brush. Never spray liquids into the heater. Store it somewhere dry and clean when you are not using it.
Frequently Asked Questions
Does the Handy Heater Turbo need professional installation?
No. A plug-in heater needs no professional installation. You only place it and plug it into a wall outlet.
Can I mount it on a wall?
Only if the manufacturer explicitly says the model is designed for it. Otherwise, use it as a freestanding unit on a flat surface.
Can I plug it into an extension cord?
It is best not to. Plug it directly into a wall outlet unless the manual clearly says otherwise.
How long does setup take?
Usually only a few minutes: unbox, inspect, choose a spot, plug in and test.
Is it normal to smell something the first time?
A slight, short-lived smell can happen with new heaters. If it is strong or does not go away, switch it off and unplug it.
Can I leave it on overnight?
Do not leave a heater running while you sleep unless the manufacturer clearly says that is safe for your model, and follow all safety guidance.
Final Thoughts
Setting up the Handy Heater Turbo is quick and easy, but it is worth doing carefully. Inspect the heater, read the manual, put it on a flat surface with plenty of clear space, plug it straight into the wall and watch it during the first run. Follow these steps and you will get steady, dependable warmth with much less risk.
Note: Product features and specifications can vary by version and seller. Always follow the manufacturer instructions. This article is for general information only.