







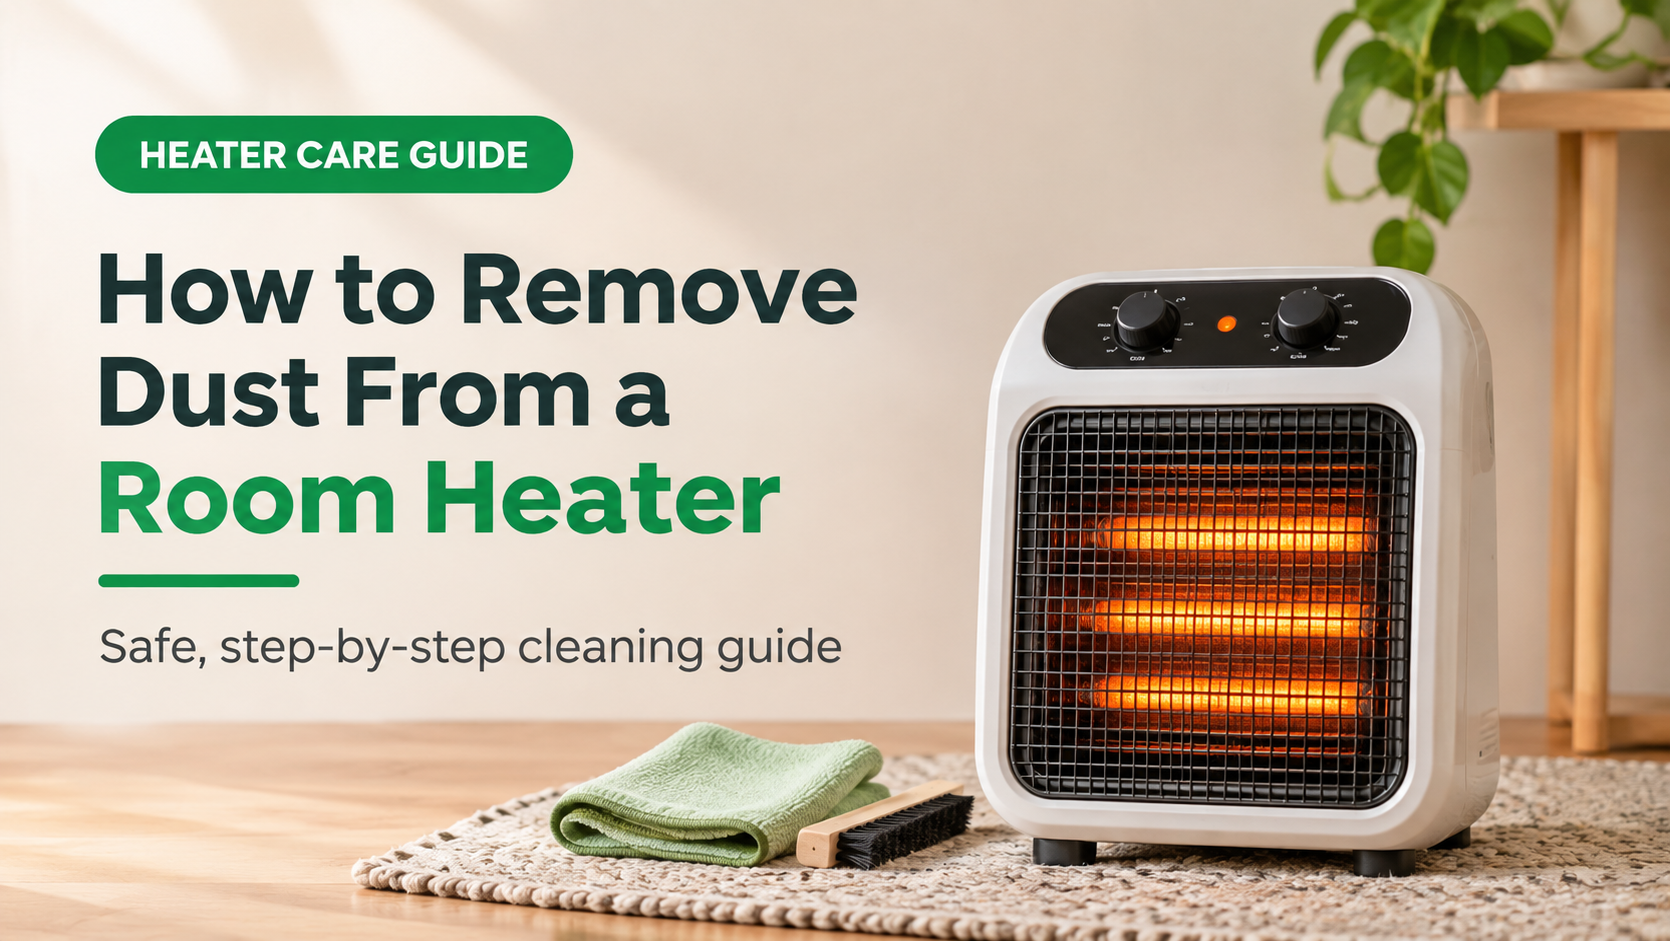
Every winter the same thing happens. You switch on your heater and a faint burnt-dust smell fills the room. Over months of storage and use, dust, pet hair and lint collect on the vents, grill and filter. Knowing how to remove dust from a room heater safely helps it work properly, keeps the air cleaner and reduces overheating risks.
This guide explains why dust matters, the tools to use and avoid, a step-by-step cleaning method, how to clean different types of heater, how often to clean and how to prevent dust building up again.
Safety First
Always switch the heater off, unplug it and let it cool completely before cleaning. Never spray or pour liquids into a heater, never use it while damp, and do not open the casing unless the manual allows it. For hard-wired heaters, switch off the power at the breaker.
Quick Answer
To remove dust from a room heater, unplug it and let it cool, vacuum the vents and grills with a soft brush attachment, gently brush the fins and fan area, wipe the casing with a slightly damp cloth, let it dry fully and test it in a ventilated room. Clean before each heating season and every few weeks of regular use.
Table of Contents
- Why dust on a heater matters
- Where dust hides
- Tools you need
- How to remove dust step by step
- Cleaning different types of heater
- How often to clean
- What to expect after cleaning
- Mistakes to avoid
- How to prevent dust buildup
- When to get professional help
- Frequently asked questions
Why Dust on a Heater Matters
Dust on a heater is more than untidy. When vents, grills and filters are clogged, air cannot move freely through the heater. The unit can run hotter than intended, trigger its overheat protection, produce a burning smell, or deliver less effective heat. Dust and pet hair can also scorch on hot parts and circulate allergens around the room.
Regular cleaning is one of the simplest ways to keep a heater working safely and reliably.
Where Dust Hides
Most dust collects where air enters and leaves the heater. Check all of these areas during every clean.
Tools You Need
You do not need special equipment. A few household items are enough.
- Vacuum cleaner with a soft brush or crevice attachment.
- Soft paintbrush or dry microfiber cloth for gentle dusting.
- Slightly damp cloth, well wrung out, for the outer casing only.
- Cotton swabs or a small soft brush for tight corners.
- Compressed air (optional), used in short bursts and preferably outdoors.
- Dust mask if you are sensitive to dust.
- Towel or sheet to protect the floor, and the heater’s manual.
How to Remove Dust From a Room Heater: Step by Step
Step 1: Switch off, unplug and cool
Turn the heater off, unplug it from the wall and allow it to cool for at least 30 minutes. Heating elements and surrounding parts can stay hot for a while.
Step 2: Read the manual and prepare a workspace
Check the cleaning and filter instructions for your model. Move the heater to a clear area, ideally on a hard floor, or outdoors, with a towel or sheet underneath to catch dust.
Step 3: Vacuum the vents and grills
Use a soft brush attachment to vacuum the front grill, the rear intake, the top and bottom vents and the base. Work slowly, following the direction of the slots.
Step 4: Brush the fins and fan area
Use a soft brush to loosen stubborn dust from between fins, around the grill and near the fan opening. Avoid pushing hard on any internal parts or bending fins.
Step 5: Clean or replace the filter, if fitted
If your heater has a removable filter, take it out as the manual describes. Vacuum it, or wash it gently if the manual allows, and let it dry completely before refitting. Replace it if damaged.
Step 6: Wipe the outer casing
Wipe the casing, control panel and base with a dry microfiber cloth or one that is only slightly damp. Do not let moisture enter the vents, controls or plug area.
Step 7: Dry, reassemble and test
Let every part dry completely. Reassemble the heater, plug it in on a hard surface and run it for a few minutes in a ventilated room. A faint dusty smell may appear briefly and then fade.
Pro Tip
Clean in two passes: first remove the loose dust with a vacuum, then wipe the surfaces. This stops dust from being pushed deeper into the vents.
Cleaning Different Types of Heater
| Heater type | Where dust collects | How to clean it | Take care |
|---|---|---|---|
| Fan heater (ceramic or coil) | Front grill, rear intake, fan area, filter if fitted | Vacuum vents with a soft brush; brush the grill; clean or replace the filter as the manual says | Do not open the casing; avoid spinning the fan with force |
| Oil-filled radiator | Fins, top surface, wheels and base | Vacuum between fins; wipe with a dry or slightly damp cloth when completely cool | Never drain or open the oil reservoir |
| Convector heater | Bottom intake slots and top outlet grill | Vacuum slots; wipe the front panel | Keep water away from controls and slots |
| Infrared or radiant heater | Reflector, grill and front guard | Dust the grill and reflector gently when cool | Do not touch heating tubes or elements; follow the manual |
| Panel or wall heater | Front panel, vents and surrounding wall | Wipe the panel and vacuum vents | Hard-wired units: switch off at the breaker first |
| Tower or ceramic tower heater | Rear intake, filter, front grill and oscillating base | Vacuum the intake and grill; clean the filter | Do not force the oscillating base |
How Often to Clean
| Situation | How often to clean |
|---|---|
| Before first use each heating season | Always, even if it looks clean |
| Regular use during winter | Every 2-4 weeks |
| Pets, carpets or a dusty home | Every 1-2 weeks |
| After long storage | Before the first use |
| After a dusty or burning smell | As soon as possible, once unplugged and cool |
| Heater with a washable filter | Follow the manual, often every 2-4 weeks |
What to Expect After Cleaning
| Problem after cleaning | Likely reason | What to do |
|---|---|---|
| Faint dusty smell when first switched on | Remaining dust burning off | Ventilate the room and run it for a short time; it should fade |
| Strong or persistent burning smell | Overheating or a fault, not just dust | Switch off, unplug and stop using it |
| Rattling or fan noise | Debris near the fan or a loose part | Unplug and check the vents; if it continues, get it inspected |
| Heater trips the breaker or cuts out | Overheat protection or electrical fault | Stop using it and contact a technician |
| Display or dial damp | Moisture reached the controls | Keep unplugged and let it dry completely; replace if problems continue |
Mistakes to Avoid
- Cleaning while plugged in or warm. Always unplug and cool first.
- Using water or sprays inside the heater. This can damage electrical parts and create a shock risk.
- Using metal tools or sharp objects that can scratch, bend or pierce parts.
- Using strong chemicals, polishes or aerosols that can leave residues which burn or smell when heated.
- Forcing the fan to spin with compressed air or by hand.
- Opening the casing without the manufacturer’s permission.
- Using the heater while it is still damp.
- Ignoring a strong burning smell after cleaning. Stop using the heater and have it checked.
How to Prevent Dust Buildup
- Store the heater clean, dry and covered during the off season, preferably in its original box.
- Vacuum the floor and nearby area regularly to reduce dust and pet hair.
- Place the heater on a hard, flat surface rather than a deep rug or blanket.
- Keep curtains, bedding and furniture at a safe distance, at least 1 meter (3 feet).
- Wipe the exterior regularly with a dry cloth.
- Check and clean the filter often if your model has one.
- Consider an air purifier or regular cleaning in dusty rooms.
When to Get Professional Help
- The heater smells strongly of burning even after cleaning.
- It trips the breaker, flickers or cuts out repeatedly.
- You see melted plastic, scorch marks or discoloration.
- The cord or plug is damaged, hot or loose.
- The fan is noisy, grinding or stuck.
- You suspect liquid has entered the heater.
- The heater needs internal cleaning or repair.
Remember
For portable heaters, replacement with a certified model is often safer and more economical than repair. Never attempt electrical repairs unless you are qualified.
Frequently Asked Questions
Can I use a vacuum cleaner to remove dust from a room heater?
Yes. With the heater switched off, unplugged and completely cool, use a soft brush or crevice attachment on the vents and grills. This is usually the safest and easiest method.
Is it safe to use compressed air?
Short bursts can help in tight spaces, ideally outdoors and with a mask on. Hold the can upright, keep the nozzle at a distance and avoid forcing the fan to spin. Always check the manual first.
Can I wash a room heater with water?
No. Never spray water or other liquids inside the heater or on controls. Use a slightly damp, well-wrung cloth on the outer case only, and let it dry fully before use.
How do I clean the filter on my heater?
If your heater has a removable filter, follow the manual. Many can be vacuumed or washed gently and must be completely dry before you reinstall them. Replace damaged filters.
Why does my heater smell like burning dust?
Dust collects on the element and vents when the heater is not in use, and burns off when it heats up. Clean the vents before use to reduce this. If the smell is strong or persistent, stop using the heater.
Should I open the heater to clean inside?
Not unless the manual says you can. Heaters contain electrical parts. Internal cleaning and repairs should be done by qualified people.
How can I keep dust off my heater between cleanings?
Store it covered in a dry place, keep the floor around it clean, place it on a hard surface instead of a deep rug, and avoid placing it near heavy lint sources like blankets.
Does cleaning make a heater more efficient?
Clean vents allow better airflow, which helps the heater deliver heat properly and avoid overheating. It will not increase its rated power, but it can help it work as designed.
Final Thoughts
Removing dust from a room heater is quick, cheap and one of the best ways to keep it running safely. Switch it off and let it cool, vacuum the vents, brush gently, wipe the outside, let it dry and test it in a ventilated room.
Make it a habit at the start of every heating season and every few weeks during regular use. If you notice persistent smells, noises or heat, stop using the heater and have it checked by a professional or replaced.